

Kaling
Video Guides
Related Links
Battle Overview
Kaling (카링) is the Adversary of Chaos and the final boss of the Grandis storyline, fought inside Dowongyeong. She has absorbed the three Perils (사흉) - Goongi (궁기, spring), Dool (도올, summer), and Chaos (혼돈, autumn) - and commands them throughout the fight. Every difficulty halves all elemental resistances and leaves Kaling immune to Slow. Throughout this guide, four figures written as "25 / 30 / 40 / 45%" mean Easy / Normal / Chaos / Extreme.
| Difficulty | Level | Required Authentic Force | Defense (PDR) |
|---|---|---|---|
| Easy | 275 | 230 | 380% |
| Normal | 285 | 330 | 380% |
| Chaos | 285 | 350 | 380% |
| Extreme | 285 | 480 | 380% |
Mental Strength

Kaling has no death counter. Instead the party shares a single Mental Strength pool of 1000, and the run fails the moment it reaches 0. Dying costs Mental Strength, scaled to party size, and many patterns drain it as well.
| Party size | 1 | 2 | 3 | 4 | 5 | 6 |
|---|---|---|---|---|---|---|
| Mental Strength lost on death | 160 | 100 | 80 | 70 | 60 | 50 |
The Perils Gauges
Three gauges - Goongi, Dool, and Chaos - each start at 500. Taking a hit from an element raises that element's gauge and lowers the gauge of the element counterclockwise from it:
| Season | Element | Hit by it raises | and lowers |
|---|---|---|---|
| Spring | Goongi | Goongi | Chaos |
| Summer | Dool | Dool | Goongi |
| Autumn | Chaos | Chaos | Dool |
If a gauge reaches 0 or 1000 it locks there permanently and the party loses 350 Mental Strength. Because the gauges push each other, sitting still and eating one element's damage all fight will bottom out a neighbouring gauge just as fast as it maxes its own.
In Extreme mode, a gauge that leaves the 250-750 window increases all damage taken from that element's attacks by 30%.
The Four Gracious Plants (Lasers)
Laser patterns cycle through the Phase 1-3 maps on a timer. Getting clipped raises the matching element's gauge, which makes them the main source of accidental gauge drift.
| Damage | Gauge gain | |
|---|---|---|
| Phase 1 | 5% max HP | 55 / 60 / 70 / 85 |
| Phase 2 | 5% max HP | 100 / 110 / 110 / 130 |
| Phase 3 | 10% max HP | 65 / 70 / 90 / 110 |
Phase 1: Halting the Invasion
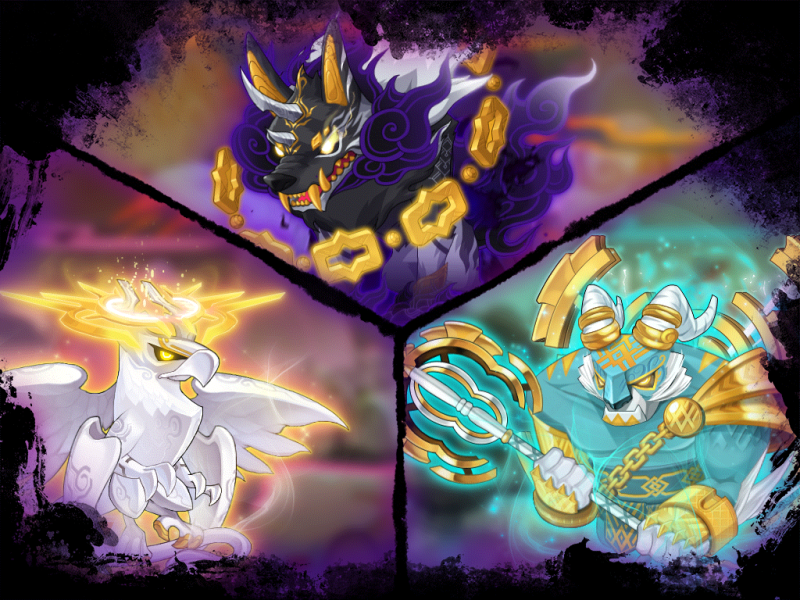
The party splits across three separate rooms, at most two players each. One Peril is summoned per room, and all three must be defeated to advance to Phase 2. A room that finishes early opens portals at fixed positions so its players can reinforce the others.
Clearing Phase 1 without breaking the seasonal balance restores 200 Mental Strength, and defeating each Peril with its gauge kept between 1 and 999 grants that Peril's blessing for the rest of the fight.
Phase 1 - Goongi (Spring)
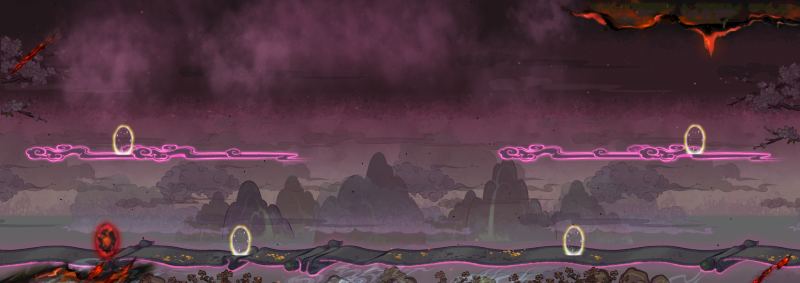
While Goongi is alive, the party loses 20 / 20 / 25 / 30 Mental Strength every 30 seconds. The two non-Goongi lasers appear in the left and right sections of its room, each adding 55 / 60 / 70 / 85 to its own gauge on hit.
- Attack 1: a knockback swing. 25 / 30 / 40 / 45% max HP, stun 1 / 1 / 1 / 2s, cooldown 15 / 15 / 13 / 12s, Goongi gauge +50 / 60 / 65 / 70.
- Attack 2: a stronger knockback swing. 30 / 35 / 50 / 55% max HP, stun 2 / 1 / 2 / 2s, cooldown 15 / 15 / 13 / 12s, Goongi gauge +50 / 60 / 65 / 70.
- Attack 3: a heavy strike that also connects on the platform above. 60 / 60 / 65 / 70% max HP, stun 1 / 2 / 1 / 4s, cooldown 25 / 25 / 20 / 18s, Goongi gauge +65 / 70 / 75 / 80.
- Skill 1 - Torn Spring: Goongi disappears into one of four Torn Spring paintings that spawn at fixed positions. Cooldown 60s.
Only one painting actually holds Goongi, and it is marked by a distinct effect. Destroy the correct painting within 15 seconds or the party takes 100% max HP, ignoring invincibility.
- Skill 2: Goongi flies to one of four fixed spots, invincible while in transit. 30% max HP, cooldown 20 / 20 / 18 / 18s, Goongi gauge +15 / 20 / 20 / 25.
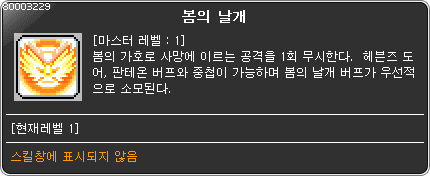
Killing Goongi with its gauge between 1 and 999 grants a blessing that blocks one lethal hit during the Kaling fight.
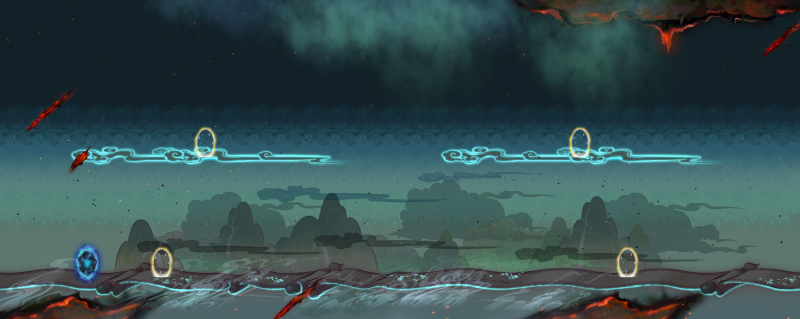
Dool is a support Peril: while it is alive, Goongi and Chaos each gain a shield every 45 seconds. A shield disappears once its HP is depleted or after 20 seconds, so leaving Dool up for too long stalls the other two rooms.
Electrified Zones and the Tesla Coil
Many of Dool's attacks and skills leave electrified zones on the map for 15 seconds. They deal 12 / 15 / 15 / 15% max HP continuously and add 20 to the Dool gauge. Taking 4 hits from electrified zones within a short window inflicts Stun.
Mini coils placed around the map can be triggered with the gather key to remove a zone immediately.
A Tesla Coil activates whenever Dool attacks or uses a skill near it. Forming a triangle of electrified zones and luring Dool into it feeds the absorbed current back into Dool and weakens it - specifically, it strips Dool's 50% final damage reduction.
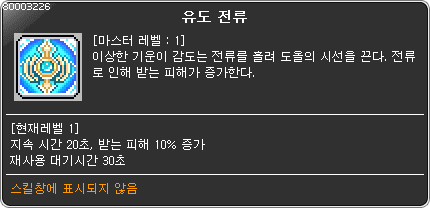
Induced Current is usable with the gather key: it makes you Dool's aggro target for 20 seconds and raises your damage taken by 10 / 10 / 10 / 20% (multiplicative), cooldown 30s.
Dool Patterns
- Attack 1: a single 100% max HP hit on a 60 second cooldown. Creates 2 / 2 / 2 / 4 electrified zones, Dool gauge +70 / 70 / 70 / 80.
- Attack 2: 40 / 40 / 60 / 60% max HP, cooldown 15 / 15 / 15 / 12s, 2 electrified zones, Dool gauge +55 / 60 / 60 / 70.
- Attack 3: 30 / 30 / 50 / 50% max HP, cooldown 15 / 15 / 15 / 12s, 2 electrified zones, Dool gauge +55 / 60 / 60 / 70.
- Attack 4 - Dash: a forward charge. 20 / 20 / 30 / 40% max HP, cooldown 25 / 25 / 18 / 18s, 2 / 2 / 2 / 3 electrified zones, Dool gauge +40 / 40 / 40 / 50.
- Skill 1: teleports to a random player and leaves 2 electrified zones.
- Skill 2: if electrified zones sit near the targeted player, Dool absorbs them and converts them into a shield on itself, scaled to the number absorbed. This shield does not expire over time, so clearing zones before Dool can eat them matters.
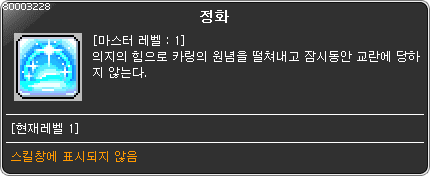
Killing Dool with its gauge between 1 and 999 grants the Purification skill for the Cruel Winter phase.