

First Adversary
On This Page
HP
Phases
Rewards
Mesos
Drops
 Sol Erda Energy(x200)
 White Jade Box(x1)
Video Guides
Related Links
Battle Overview
The First Adversary (최초의 대적자) is the final boss of Odium, fought inside the World Heart. Entry requires a level 270 character. The boss is level 270 / 280 / 285 / 290 in Easy / Normal / Hard / Extreme, has 380% defense, and requires 220 / 320 / 340 / 460 Authentic Force. Potion cooldown is 10 seconds.
Throughout this guide, four damage figures written as "50% / 50% / 50% / 80%" mean Easy / Normal / Hard / Extreme. Gauge figures are quoted for a solo party unless noted; in a 2-player party the loss is about 75% of the listed value and in a 3-player party about 50% (Extreme excepted).
- Slow does not apply to the boss in any phase.
- Zero's Critical Bind does not apply to the boss in any phase.
- Most incoming attacks disappear immediately if the boss is bound.
Adversary's Will (Death Count)
Each player is given 1000 Adversary's Will. Dying (HP reaching 0) costs 200. Running out ends your run.
Cycle of Power
Every 132-138 seconds the Cycle of Power fires. How much Adversary's Will you lose depends on your Power of Order stage at that moment.
| Power of Order at the Cycle | Adversary's Will |
|---|---|
| Stage 1 (below 200) | -200 |
| Stage 2 (200-399) | -100 |
| Stage 3 or higher (400+) | no change |
If your Power of Order is at stage 4 or below (599 or less) when the Cycle fires, the gauge is reset to 500. As of KMS 1.2.407, a gauge at stage 4 or above is no longer reset.
Power of Order
The Power of Order gauge is shared by the party. It starts at 500 and runs 0-1000. It drains 5 per second down to the current stage boundary, drops when you are hit by certain patterns, and rises when you nullify certain patterns with Indomitable Will. Your stage sets your final damage.
| Power of Order | Stage | Final damage |
|---|---|---|
| 0-199 | 1 | -40% |
| 200-399 | 2 | -20% |
| 400-599 | 3 | 0% |
| 600-799 | 4 | +10% |
| 800-1000 | 5 | +20% |
At stage 5 the Power of Order is "complete": your final damage rises sharply, but the boss also gains extra patterns.
Indomitable Will (Parrying)
Pressing the NPC / gather key casts Indomitable Will, nullifying attacks for 0.5 seconds. A successful nullify blocks the whole hit effect - damage, gauge loss, status ailments, and knockback.
- Nullifying the right kind of attack (an enhanced attack in Phase 1, a matching-element attack in Phases 2-3) raises the Power of Order and cuts the skill's 6 second cooldown by 4.5 seconds, to 1.5 seconds.
- The gauge gain scales inversely with party size.
- Nullify still succeeds while you are invincible.
Everything else you parry blocks the hit but gives no cooldown reduction and no gauge.
Phase 1: Courage That Does Not Retreat
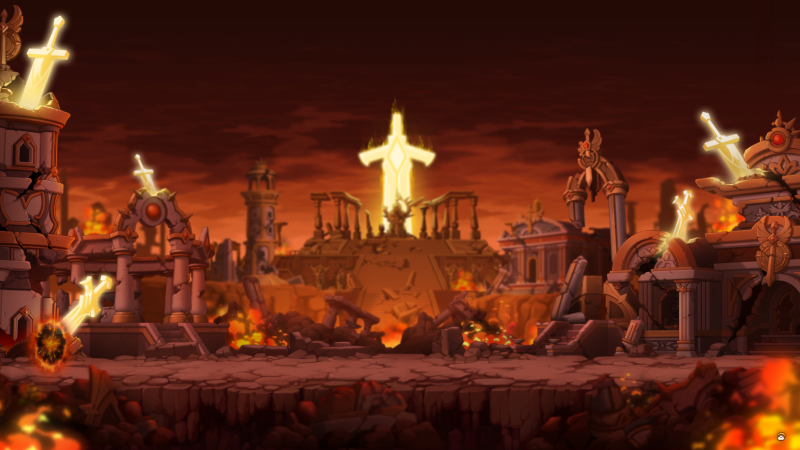
In Phase 1 only enhanced attacks - the boss's red-glowing attacks - reduce the Indomitable Will cooldown and raise the Power of Order when nullified.
- Teleport Strike: teleports next to a player and attacks. 30% / 30% / 30% / 50% HP, 3s stun, cooldown 5s. Parrying it gives no cooldown refund.
- Greatsword - Slash then Slam: one horizontal swing, then an overhead slam. The two hits can face different directions. Crouch to avoid. Cooldown 10s. Hit 1 is 30% HP; hit 2 is 50% / 50% / 50% / 80% HP with knockback and drops the gauge by 200 / 200 / 200 / 300. Nullifying hit 2 raises the gauge by 100 / 75 / 75 / 75.
- Greatsword - Double Slash then Slam: two horizontal swings, then an overhead slam. Hits 1-2 face one way and hit 3 may face another. Crouch the first two. Cooldown 10s. Hits 1-2 are 20% HP; hit 3 is 50% / 50% / 50% / 80% HP with knockback, a 0.8s stun and a 200 / 200 / 200 / 300 gauge loss.
- Rain of Swords: swords fall across the whole map, cooldown 55s. Hit 1 lands about 3 seconds later and is avoided by staying slightly off the ground (90% HP). Hit 2 lands about 5 seconds in and deals 999% HP - it can be dodged by being very high off the ground, but nullifying it refunds a huge 200 gauge (solo), so parrying is the better play.
- Dagger Rush: grabs the floating dagger and charges forward, cooldown 12s. A shadow afterimage can fire at random; the shadow is 20% HP with a 5s stun and can be crouched. The real body is 50% / 50% / 50% / 80% HP with knockback and a 0.5s stun.
- Triple Dagger Rush: three consecutive charges, each possibly facing a different direction, cooldown 20s. Hits 1 and 3 can each spawn a shadow. Hits 1 and 3 are 50% / 50% / 50% / 80% HP; hit 2 is 30% HP and gives no cooldown refund.
- Find the Real One: the attack erupts in three zones across the map, but only one is the real body - the one that briefly flashes red during the wind-up. First cooldown 30s, then 55s. The real zone deals 999% HP and drops the gauge by 200 / 200 / 400 / 500; nullifying it refunds 200. The two fakes deal 80% HP.
- Map Pattern - Space Rend: every 10 seconds, 45-degree lasers sweep the map at 0.3s intervals. 10 / 12 / 14 / 16 / 18 lasers appear at Power of Order stages 1-5. 10% HP each.
- Map Pattern - Tornadoes (stage 5 only): once the Power of Order hits stage 5, tornadoes appear at both map edges. Touching one deals 25% HP and applies Slow for 1 second. They vanish instantly if the stage drops.
- Warrior's Mark: every 25 seconds the boss aims at one character and strikes that spot about 2.7 seconds later, then repeats afterimages there 3 / 4 / 5 / 6 / 7 more times by gauge stage. 15% HP and a 3 second potion seal.
Phase 2: Wisdom That Pierces the Truth
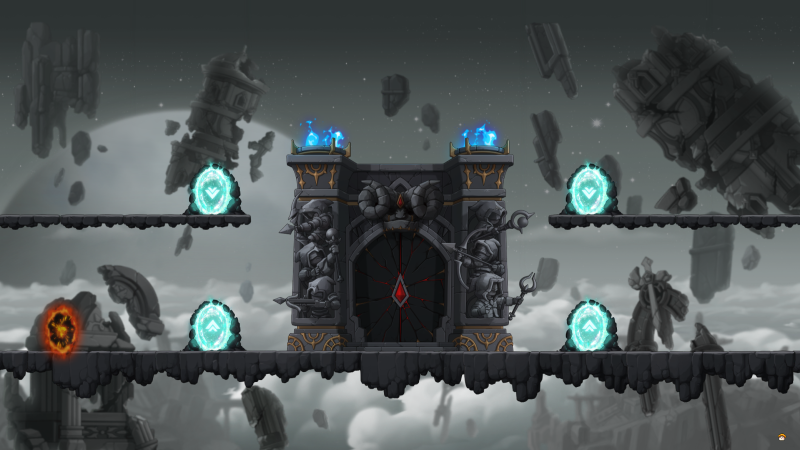
From Phase 2 each party member is assigned a different element, shown above their character's head. Elements are reshuffled at random roughly every 132 seconds at the Shift of Power. From here on, only nullifying an attack of your own element reduces the Indomitable Will cooldown and raises the Power of Order.
- Elemental Vortex: grabs the staff and builds a vortex, then about 3.6 seconds later spins a full 360 degrees in a random direction. The rotation direction is drawn as a circular arrow around the boss. First cast 3 seconds after entry, then cooldown 65s. 35% / 35% / 35% / 80% HP, gauge -200 / -200 / -200 / -300. A matching-element nullify refunds 200 (solo).
- Elemental Torrent: about 3.6 seconds after the cast, laser pillars advance left or right at a steady pace, travelling roughly 7 tiles. Each pillar's safe spot shows its travel direction - move to the upper or lower platform to match it. First cast 30 seconds after entry, then cooldown 65s. 15% / 15% / 15% / 80% HP, gauge -200 / -200 / -200 / -300.
- Elemental Arrows: an elemental magic circle appears on the boss and fires arrows at each character, 3 / 4 / 5 / 6 / 7 arrows by gauge stage, cooldown 20s. Each arrow is 10% / 10% / 10% / 20% HP. A matching-element nullify refunds the cooldown once and raises the gauge by 125 / 100 / 100 / 100 (solo).
- Great Arrow: grabs the bow and fires a large arrow toward one of four diagonals. When it reaches the map edge it splits into 9 small arrows. Cooldown 35s. The great arrow is 50% HP; each small arrow is 10% HP.
- Aimed Six-Shot: aims at each character and fires 6 ordinary arrows at 0.3 second intervals, then about 1.2 seconds later a single elemental arrow. Cooldown 45s. Ordinary arrows are 20% / 20% / 20% / 40% HP and apply Weakness for 5 seconds; the elemental arrow is 50% / 50% / 50% / 999% HP. A matching-element nullify on the elemental arrow refunds 250 / 200 / 200 / 200 gauge (solo) - the biggest single gauge swing in the phase.
- Bird Summon: summons a bird at the map center that uses one of four patterns at random. About 1.6 seconds after the summon it telegraphs where it will hit, then strikes about 2.5 seconds later. 40% / 40% / 40% / 80% HP and a 1.5 second stun.
- Chaotic Elements (map pattern): six telegraphed zones appear, two per element, cooldown 6s. 30% / 30% / 30% / 50% HP. A matching-element nullify refunds 100 gauge (solo). Since KMS 1.2.406 you can only gain gauge and cooldown from this pattern up to 3 times per cast.
- Falling Debris (map pattern): warning pillars appear in 5 of 10 fixed positions at 0.3 second intervals, cooldown 6s. 30% / 30% / 30% / 50% HP and a 1 second stun.
- Megalith Ward (map pattern): tracks a player for about 5 seconds, then plants an altar at that spot for 25 seconds. Touching the altar deals 15% / 15% / 15% / 30% HP every 0.5 seconds. First cooldown 15s, then 30s.
Phase 3: Destiny Reborn as Legend
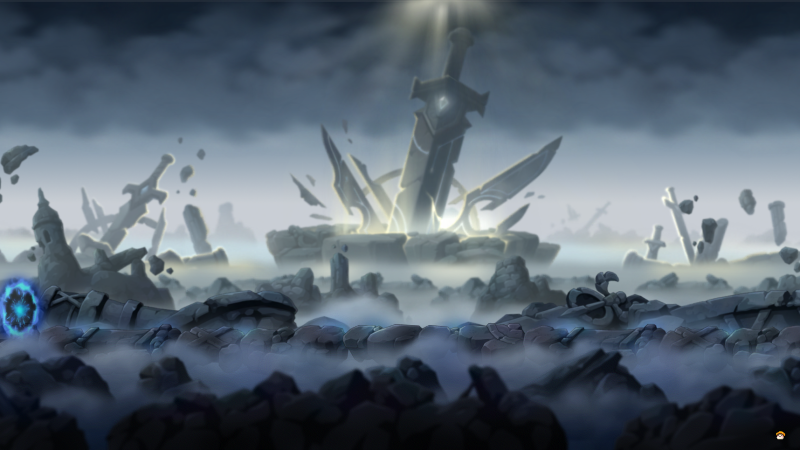
Phase 3 keeps the per-player elements and the ~132 second reshuffle, and the same matching-element rule for nullifying.
- Teleport Strike: teleports next to a player and attacks. 30% / 30% / 30% / 80% HP, 3s stun (status resistance does not apply on Hard and above), cooldown 5s.
- Greatsword - Slash, Elemental Slam, All-Element Sweep: one horizontal swing (crouchable, 30% HP), then an overhead slam of a random element (50% / 50% / 50% / 80% HP, knockback), then 2.28 seconds later an all-element forward attack for 50% / 50% / 50% / 200% HP. Cooldown 10s.
- Greatsword - Double Slash, Elemental Slam, All-Element Sweep: two crouchable swings (20% HP each), an elemental slam (50% / 50% / 50% / 80% HP), then 1.77 seconds later an all-element forward attack for 50% / 50% / 50% / 200% HP. Cooldown 10s.
- Shadow Sweep (Triple Dagger Rush): three consecutive charges with fixed elements - hit 1 red, hit 2 blue, hit 3 yellow - each possibly facing a different direction and each able to spawn a shadow. Crouch hits 1-2 and jump hit 3. Cooldown 20s. Shadows are 20% HP with a 5 second stun; the real body is 50% / 50% / 50% / 80% HP.
- Elemental Magic Circles: grabs the staff and summons one magic circle per element along the top of the map. Each circle fires its laser in turn, and a laser nullified with the matching element disappears immediately. First cooldown 10s, then 55s. 20% / 20% / 20% / 50% HP. A matching nullify refunds 250 / 200 / 200 / 200 gauge (solo).
- Arrow Shower: grabs the bow and rains 45 arrow volleys across the whole map over 4.8 seconds. First cooldown 30s, then 55s. Each arrow is 45% / 45% / 45% / 60% HP; parrying gives no cooldown refund.
- Map Pattern - Space Rend: as in Phase 1, 45-degree lasers sweep the map every 10 seconds at 0.3 second intervals, 10 / 12 / 14 / 16 / 18 of them by gauge stage. 15% HP each.
Reward
Pattern clips sourced from the Naver blog seotbeo.